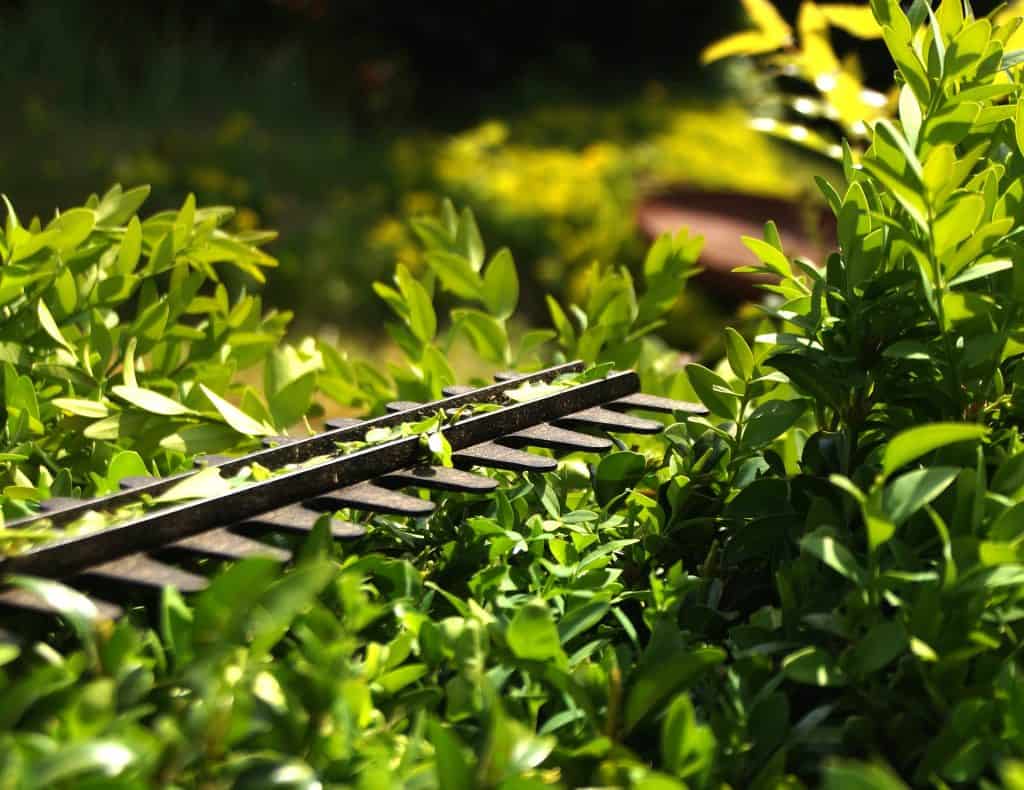
Hedge trimmers, when working correctly, make easy work out of a job like trimming back the bushes in front of the house. When their blades get dull, however, they can create rough cuts that make the hedges look worse than they did in the first place.
How to Sharpen Hedge Trimmers
For ease of use and to prevent future damage to the trimmers and yourself, it is important to keep the blades sharp.
While professional sharpening services are available, very few people have a spare hedge trimmer blade at home that they can swap out when their main blade is out for servicing.
Also, a lot of the time we’ve already put the time aside to complete the task, so sharpening the blade at home and getting everything done is a much better proposition.
Sharpening hedge trimmer blades at home is not difficult, and can be done with some very simple tools.
When to Sharpen Your Hedge Trimmer
As a general rule, basic maintenance on any tool should be performed on a regular basis to ensure that it is ready for use at any given moment. Frequent use of your hedge trimmer will mean that you need to sharpen it more often.
In a professional environment, hedge trimmers should be sharpened around twice a month, but for home use, sharpen hedge trimmer blades after about every 50 hours of use.
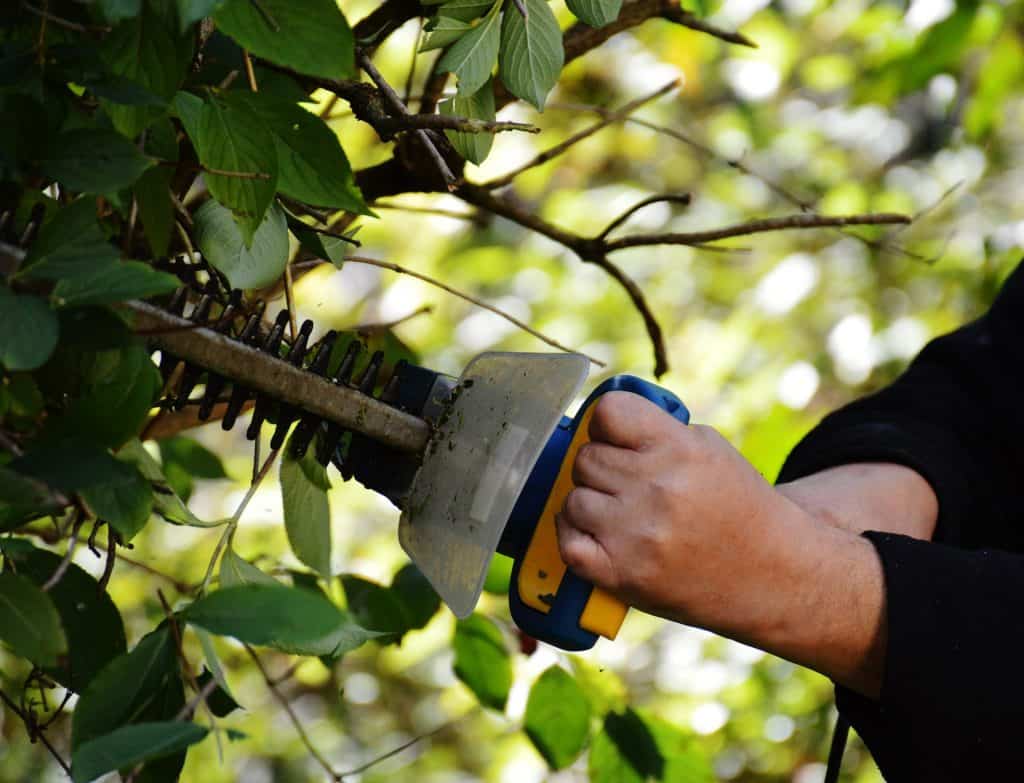
Even the best hedge electric trimmers and gas powered options will go dull eventually. If there are signs of wear or the trimmers are having a hard time cutting branches evenly, it is probably past time to sharpen the blades. That does not mean to put it off! Sharpen them as soon as possible.
If the hedge trimmer blades do not appear to be worn, the first step may be to clean the teeth. Sap, dirt, oil, and compressed debris can get caught in the teeth and reduce the effectiveness of the trimmer.
To clean, take a stiff nylon bristle brush to the teeth and scrub away anything you see. Be sure the hedge trimmers are unplugged, or remove the battery first, to prevent the device from turning on and causing serious injury.
Tools Needed for Hedge Trimmer Sharpening
- Table vise (optional when using a file, necessary when using a power tool)
- Nylon-bristled brush
- Wrench or strong pliers
- [amazon link=”B00IO86YQE” title=”Mill file” /], [amazon link=”B002L3RUW0″ title=”Dremel” /] (or other high-RPM rotary tool), or [amazon link=”B0010DHFTK” title=”angle grinder” /]
- Sharpening stone or 300-grit sandpaper
- Clean cloth
- Linseed or other oil
- Protective gear
Preparing to Sharpen Your Hedge Trimmers
Work Area
First of all, find a flat surface with enough space to be able to maneuver around and with the hedge trimmer. If using a file or a dremel, you could get away with performing this on the floor of the garage or outside, as long as the area is flat. A large workbench, however, will be much easier on your back.
We recommend that you do not perform these sharpening methods over carpeting. The metal shavings are much harder to vacuum up from a carpet than to sweep up from a shop floor.
Tools
Gather all the necessary tools together, making sure that any accessories for the tools needed are readily available. Check that your wrench fits the bolts that hold the two blades together if you are planning on removing them.
Safety
Remove power from the hedge trimmers, either by making sure they are unplugged, or the battery is out. If you working with a high quality gas hedge trimmer, remove the spark plug.
You are going to be sticking tools and fingers in between saw blades, and if that thing gets turned on, serious injury may occur.
For personal protection, we highly recommend wearing protective eyewear. We also suggest leather gloves, a face mask to filter any particles that get into the air, and ear protection (if using loud power tools).
Clean the Blades
Before sharpening, remove any dirt or debris from the blades, teeth, and any other part of the trimmer with a nylon brush.
Remove the Blades
This is an optional step if using a file or a Dremel to sharpen your hedge trimmers. It is possible to hold the unit by hand, and this may be easier for some people, especially if using a file. The added power and torque of an angle grinder, however, makes this step necessary.
Hedge trimmer blades are normally held in place by a bolt or screw. To separate the blades from the trimmer and each other, loosen that bolt with pliers or a wrench.
Mount Blade in a Vise
The additional bracing provided by mounting the blades in a bench vise will provide additional stability. This will help you keep the angles consistent, and protect against slips that may cause accidents.
Mount the first blade with the teeth pointing straight up. This will provide the best angle to reach the teeth. Make sure the vise is tightened enough to prevent any slippage.

Different Hedge Trimmer Sharpening Methods
There are a few different ways to sharpening hedge trimmers. They mostly follow the same guidelines, but different tools are used. We recommend using a file if this is your first time, a Dremel if you are comfortable using one, or an angle grinder if you use similar power tools on a regular basis.
Using a Dremel or Angle Grinder for Sharpening
Two tools that work really well for sharpening are certain Dremel tools, and one of the best angle grinders on the market.
Be sure that your power cord is long enough to reach the areas you need to get to, but not so long that it becomes a tripping hazard.
Eye protection is very important here. One small piece of the spent metal can cause permanent eye injury.
And, as with any power tools, be sure your fingers, loose clothes, and anything else is far away from the moving parts.
Using a File to Sharpen Hedge Trimmers
A mill file is the recommended tool to use here, but you may be able to get away with using a diamond file. The benefit of the mill file is that it is easy to keep a consistent angle, and the one-way filing action reduces the chance of injury.
- If keeping the hedge trimmer blades attached to the main body, you first need to align the upper and lower blades. First, with gloves on, push them together with your fingers. If more force is needed, use a solid material that fits between the teeth such as a screwdriver handle, and strongly push the leading edge back to match. Tighten the bolt if necessary.
- Line up your file with the flat cutting edge of the first tooth. Using a long, light motion, stroke the file forward. Lift the file up, bring it back to your starting position, and repeat until any oxidation is removed and the tooth is sharp. DO NOT file with a back and forth motion.
- Each tooth will take anywhere from 5-20 strokes. Try to use the same number of strokes for each tooth.
- Move on to the next tooth and repeat step 2. Continue until all the teeth are sharpened.
- If the blade is in a vise, remove when all the teeth of the first blade are complete, replace with the other blade, and repeat steps 2-4.
Using a Dremel to Sharpen Hedge Trimmers
A step up in speed from sharpening with a file, the Dremel (or other rotary tool) is a handy tool for many projects around the house. They do have a specialized [amazon link=”B003BIFMK6″ title=”accessory kit for sharpening” /], but our instructions are based around the standard grinding stone attachments that come with most kits.
We recommend picking a high powered Dremel, and one of the flat grinding stones for consistency, but the angled grinding stones may be easier to get the right angle if not using a vice.
- Attach the correct Dremel bit, making sure that the Dremel collar is tightened correctly.
- Choose an end to start from (we recommend the front end).
- Slowly move the Dremel toward the flat cutting surface. Figure out your angle of attack, and apply light pressure evenly side to side over the surface until the surface is shiny and sharp.
- Use short strokes. Leaving the Dremel running on the metal in one place can make the tooth uneven.
- Each tooth will take from 5-30 seconds depending on the hardness of the metal and which grinding attachment you use.
- Move on to the next tooth and repeat step 3. Continue until all the teeth are sharpened.
- Remove from the vise if using, and repeat on the second blade.
Using an Angle Grinder to Sharpen Hedge Trimmers
Angle grinders are very strong, effective tools for sharpening. So strong in fact, that if you aren’t familiar with using one, you could take the teeth off the blade instead of just sharpening them.
If you are not familiar with using an angle grinder, please consider one of the other methods listed above instead. Sharpening saw teeth is not a recommended way to learn how to use a power tool.
That being said, an angle grinder is the fastest tool for sharpening hedge trimmers at home.
- Mount the blade in a vise as per previous instructions. Do not try to use an angle grinder without the blade being firmly secured.
- The process is the same as with a good Dremel – find the edge and angle you want to sharpen, and use a light touch.
- It may surprise you how quickly the grinder can remove metal, and if too much is taken off, the blade will be ruined.
- Be sure to use the same angle for every tooth.
Post-Sharpening Care for Hedge Trimmers
After the main process of sharpening your hedge trimmers is complete, there are a few steps necessary to make sure your trimmers are working at peak performance.
Often, especially when using a file for sharpening, metal burrs may build up on the back side of the teeth, away from the surface you were sharpening. With a whetstone or sandpaper block, remove those burrs.

To test the sharpness of the blades, use the paper test. Take a piece of paper and draw it against the sharpened teeth – if the paper does not slice cleanly, the blades may need to be sharpened more thoroughly.
Wipe the blades and teeth down with a cloth, they may still have metal shavings on them. A two step process by first wiping with a clean, dry microfiber or 3-in-1 cloth, followed by a wipedown with linseed oil, will help prevent rust and keep the blades lubricated.
When reattaching the blades to the hedge trimmer, be sure they are mounted in the correct position. There will normally be markings, or a specific fir based on the tightening bolt, to help you figure out which way they go. Make sure the top and bottom teeth are aligned, and tighten the bolt.
If branches are getting caught between the teeth and slowing down or jamming the trimmer, the upper and lower blades may have become detached. First, make sure the teeth are aligned and the tightening bolt is secure.
If the problem persists, the blade spacers that keep the blades aligned may have worn out and will need to be replaced.
Conclusion
Sharpening hedge trimmers on a regular basis will help you maintain your landscaping by keeping your cuts clean and even, and help prolong its life. The process of sharpening is not that difficult, and once learned, can save time and money in the future.
If you don’t think your trimmer is worth the hassle of sharpening, check out our corded hedge trimmer reviews for guidance on picking a new one.