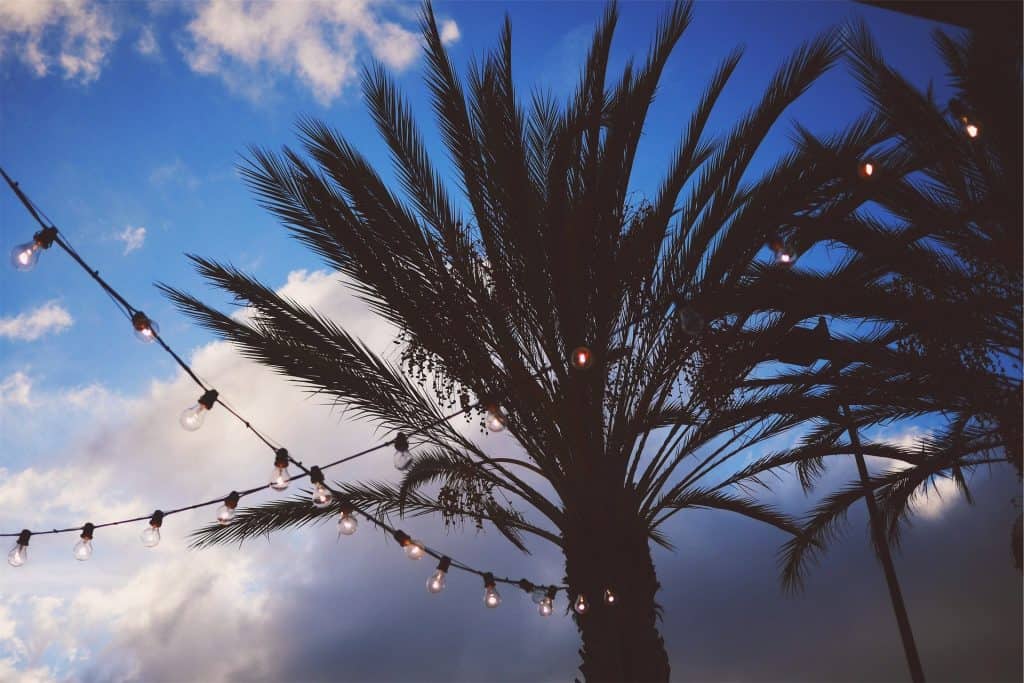
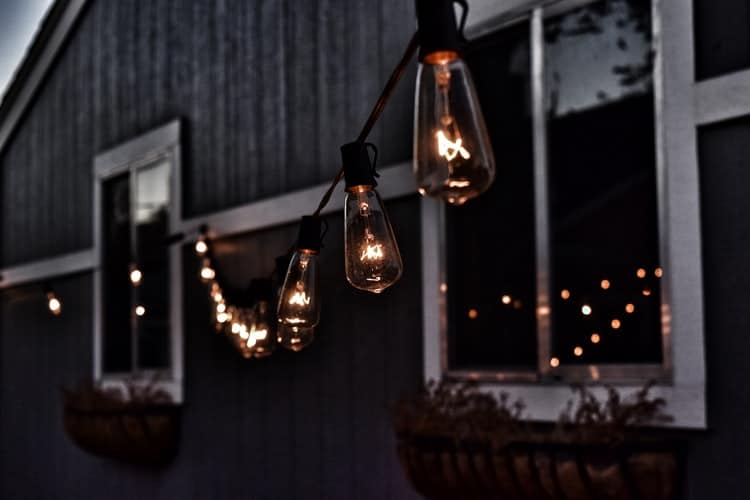
Lighting your garden or cub can adorn the view of your house. If done right, it could be an elegant way to decorate your outdoor landscape.
Although it may sound like a hectic job, installing an outdoor landscape is actually much easier than putting Christmas lights up on your house.
You don’t have to be an electrician to decorate your curb, and you only need a few tools to get started. So in this article, I’ll guide you on how to set up outdoor landscape lighting.
How to Set Up Outdoor Landscape Lighting
Here are the steps to quickly install and set up your landscape lighting:
1. Supplies Needed
Whether you’re planning on using Light Emitting Diodes (LED) or conventional bulbs, you need a transformer.
The transformer simply decreases the output voltage of your house from 120v to the 12v needed to lighten your garden.
Thus, you need a ground fault circuit interrupter (GFCI) protected electric outlet, in which the transformer is plugged in. If you don’t already have one, don’t use an extension cord or indoor outlets, and have an electrician install an outdoor outlet for you.
Finally, for the tools, you just need:
- A flat-blade shovel (or a trowel)
- Steel punches
- A screwdriver
- A low voltage cable
- Outdoor wire connectors
- Wire strippers
- The light fixtures
2. Plan Ahead
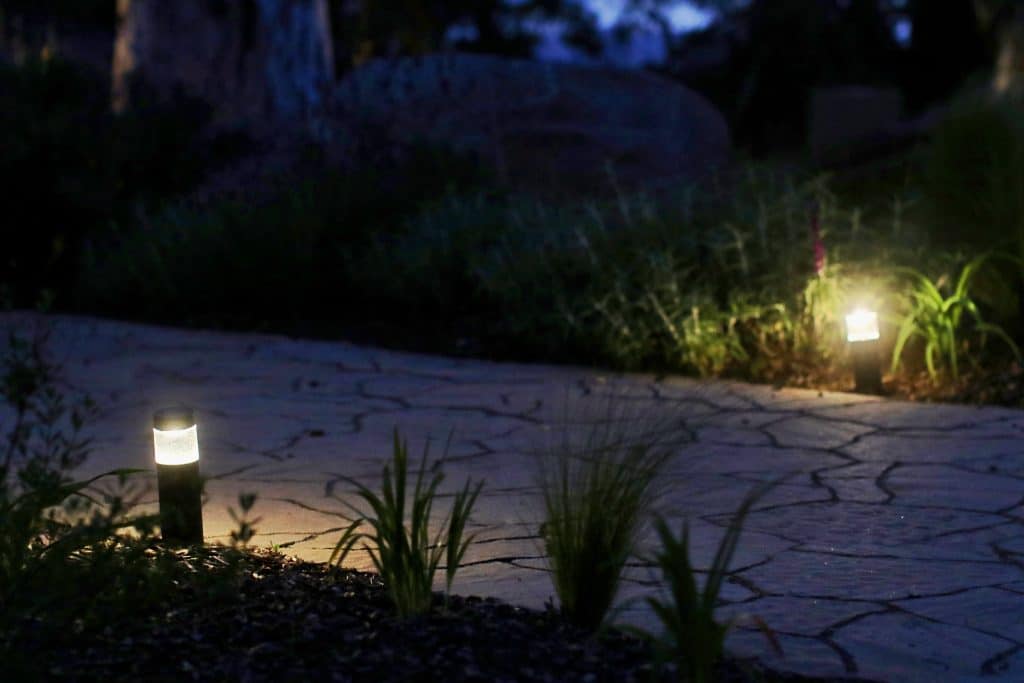
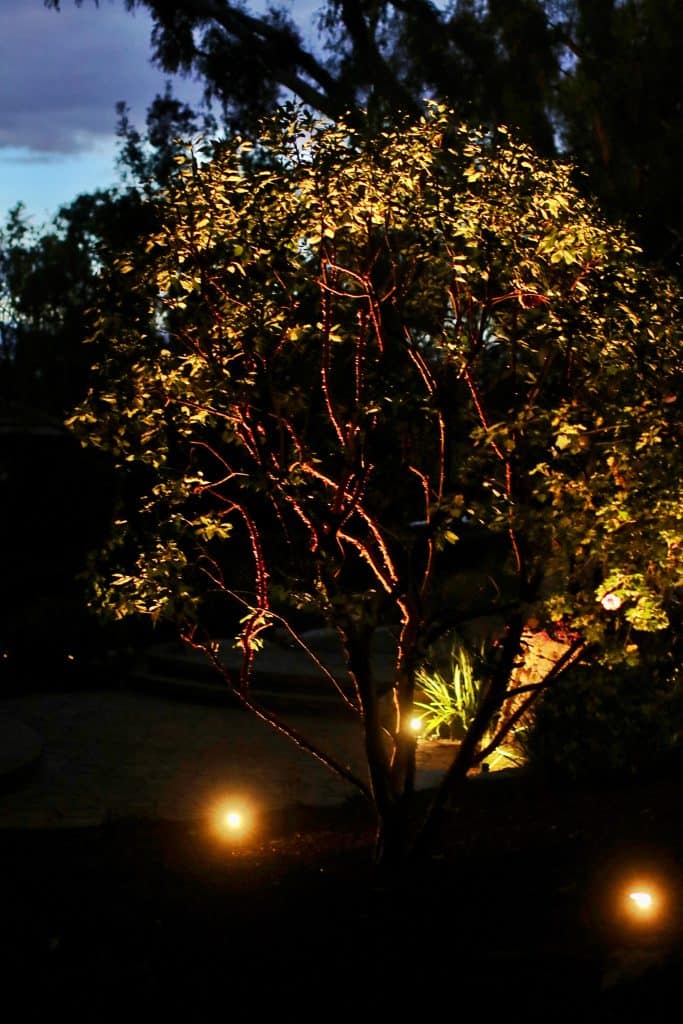
Before installing your lightings, you need to have a clear landscape overview of where you’re going to place them. You can set them up in your driveway or walkway, or point them at trees, fences, or walls.
One of the imperative things you should consider is how you’ll place them together. Although it may seem nicely organized, setting the lightings opposite to each other is a terrible idea, as it focuses too much light on the space between them.
Be mindful of obstacles and high traffic areas to avoid. Its best to put these lights outside of your lawn, path, and edgeways, so they don’t get accidentally knocked over.
3. Lay Out the Cables
For high-voltage lightings, you’ll need an electrician and have to dig up to 18 inches to hide the cables. As for low-voltage cables, you can do it yourself, since you only need a 3-inch trench to put your cables in.
- Leave at least 10 feet between the transformer and the first lighting fixture while laying the main cable
- For lighting systems that consume less than 200 watts, you should use a 14-gauge cable.
- For systems that use more than 200 watts, a 12-gauge cable is preferred.
- Use either the flat-blade shovel or the trowel to cut the trench.
- Leave about 8-10 feet between every fixture, and cut a perpendicular trench for each fixture stake.
- Screw-in the cable outdoor wire connectors wherever you like on the main cable.
- Push the main cable into the trench, and put the light stakes in the perpendicular trench.
However, don’t push it deep down until you’ve checked that the lightings and transformer work.
4. Plug In and Connect the Wiring
Before setting up your transformer, make sure to check the output power needed. For halogen lamps, a 600 to 1,200 watt-transformer should have sufficient capacity to light up your yard.
You can reduce the power consumption by using LED lights, which only require around 45-300 watt-transformers.
You can either screw the transformer to a stake driven into the ground, or directly mount it to your house’s walls. To connect the cable to the transformer you have to:
- Use the wire strippers to cut the main cable and strip off half an inch of the rubber insulation.
- Attach the cabling to the power pack by screwing it in.
- Plug the transformer in the GCFI protected outdoor outlet, and see if the lightings work.
- If they don’t work, then you might have faulty bulbs.
- Consider checking the wire connectors.
Other reasons why the lighting system might not work is a faulty electric outlet or transformer.
5. Final Touches
If you like the appeal of the lighting in your yard, then go back and push the stakes all the way in their perpendicular trenches.
Make sure that the stake isn’t tilted while pushing by using both hands to push it, and stuff the cables as well back into the soil.
Once you’ve properly installed all the fixtures, close all the trenches by smoothing out the soil around it and soaking the area with water.
Pro Tips
Use a flash before choosing where to place the fixtures to gain insight into the lighting
Don’t bury the cable deeper than 3 inches as it’ll be difficult to connect the light fixture
Try to avoid placing the lights close (10 feet) to pools or spas.
Always replace a burnt-out bulb as it’ll affect the longevity of the rest
Use outdoor wire connectors instead of quick connectors. Don’t let two poles of light overlap (don’t place the fixture too close to each other)
Conclusion
All in all, setting up the lightings yourself isn’t that big a deal once you follow these guidelines. You can also go solar and use solar light bulbs, which even require no cables.
Moreover, you shouldn’t worry about meddling too much with electricity, since you’re working with 12v.
After following these simple steps, you’ll have illuminated your yard with a magical view, allowing your outdoor space to transform into a whole new luminous world of its own.