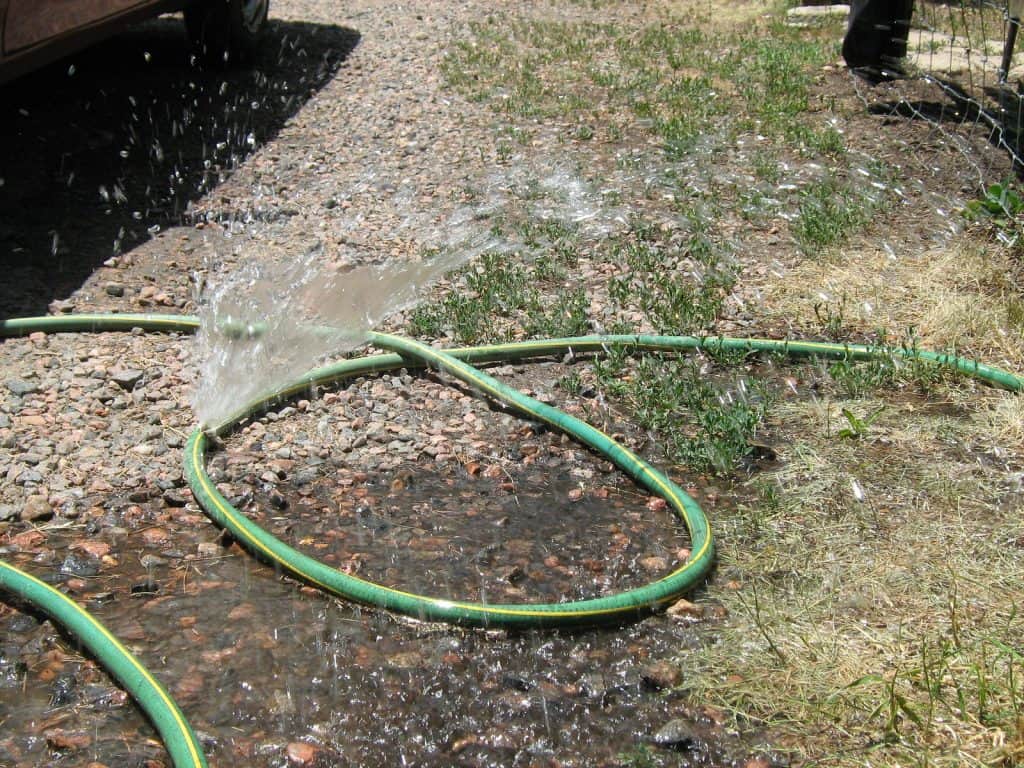
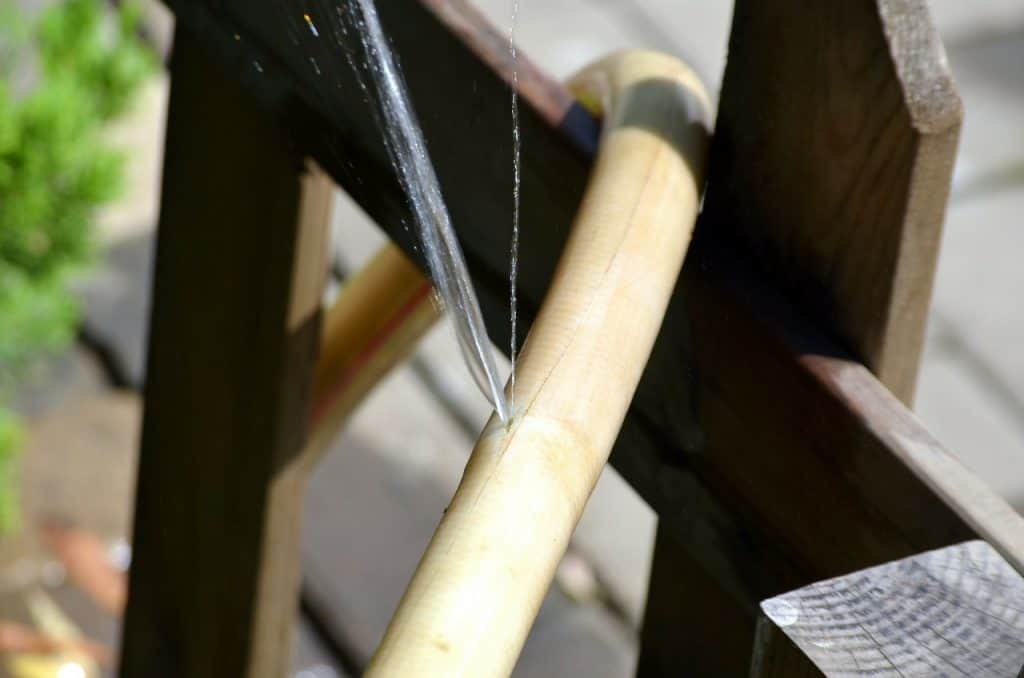
It’s never a good idea to just let a leaky hose be. It may seem like it’s not that big of a deal. However, you’re losing a lot more water than you think you are. Unfortunately, it is a common problem to experience a leaking hose.
With enough exposure to weather, heat, and cold temperatures, it’s bound to happen. Whether you’re working with the best soaker hose or garden hose, the constant twisting of the rubber or plastic is a recipe for problems in the long run.
The good news is that there are great, do-it-yourself solutions for a leaky hose problem.
How to Fix a Leaky Hose
A hose consists of multiple parts. These help it function effectively in carrying high-pressure water from a faucet and through the hose tube. The first factor to consider when you’re planning to fix a leaky hose is to determine where the leak is coming from.

Where is the Leak Coming From?
Different sources of hose leaks will need different solutions. Inspect your hose first.
You should check for:
- A leak coming from the water faucet (also called a spigot): If the leaking water is coming from the handle of the faucet, or anywhere from the faucet, then it is a problem with your spigot. This can be repaired.
- A leak coming from the connection between the water and the hose: Look at the hose fittings that’s attaching your faucet to your hose. Check to see if the water leak is coming from this part. This too can be repaired.
- A leak coming from a break on the hose tube: If you find the water is leaking from somewhere on the hose tube, move the tube around. This will help determine the exact place where the leak is. Mark this spot. This mark will make it easier for you to go back to repair it.
These 3 sources of a leak can easily be fixed. But this is if it is merely a small leak. You may find your hose has too large of a hole. This means it will need a lot of materials to repair it. In this case, it’s best to just replace the entire tube.
Once you know where the leak is coming from, you can move on to repairing your hose. These are three methods to repair the leak in your hose. Choose the one you think will solve your leaking problem.
A Leak Coming from the Water Faucet
You first need to double-check if this is the source. Remove the tube of the hose, and turn the water on. If you find the water is flowing just fine through the opening, then there isn’t a problem with your faucet.
If you find that there’s water coming out of the handle, then you most likely have a problem with your packing washer. A packing washer can get worn out.
Replace the packing washer by following these instructions:
- Turn the water off from the main source.
- Open the faucet to let the remaining water drain out.
- Use a screwdriver to loosen the screw that’s securing the handle on to the faucet. Remove the handle. This may be difficult to remove and will need extra force. If necessary, use a hammer to help loosen this up.
- Remove the packing nut with a wrench.
- After removing the packing nut, you will immediately see the packing washer. You can remove it with the help of a flat top screwdriver. Find the right packing washer size, and replace the old one. You can use a lubricant to make it easier to fit the new packing washer into its place.
- Reassemble everything back to its original place.
After completing this process, turn the water back on, and check if there is still a leak. Make sure you have tightened both the packing nut and the screw that’s securing the handle before turning the water on. This should resolve the leak.
A Leak from the Connection of the Faucet and the Hose

If you find the leak is coming from where the hose tube meets the faucet, it’s most likely a problem with your hose fittings. This part of the hose gets damaged due to extreme changes in heat, and possibly water freezing inside the fittings during the cold season.
This type of leak is such a common problem that there’s already a go-to solution for it. To replace a hose fittings leak, you can buy a hose fitting repair kit complete with everything you need.
Instructions for replacing a hose fitting:
- Remove the broken coupling from your hose.
- Remove the hose. This can be tough to do as your hose may be stiff. You can help this process by dipping your hose in warm water with soap.
- Attach the new coupler from your hose fitting repair kit, by pressing the coupler into the end of the hose.
- Attach the hose clamp and tighten both sides of the hose clamp using a screw driver. The tighter the better.
After following these instructions, you can attach your newly replaced hose fitting on to your faucet (spigot). Test if the water is still leaking. The important part is tightening the hose clamp enough so that it holds enough tension to keep the water in.
A Leak Coming from a Break in the Hose Tube
Extreme changes in weather can cause the material of a hose to get stiff, lose its flexibility, and eventually break. If this is where your leak is coming from, you can repair this by buying a hose mender kit, and following these instructions.
- With a saw, cut the part of the hose where the leak is. Remove the part where the leak is coming from.
- Slide two hose clamps on both sides of the remaining hose. These clamps will secure the hose adaptor that will hold both ends of the hose together.
- Press both ends of the hose with the hose clamps, over the adaptor that comes with the hose mender kit. Make sure you press the hose over the adaptor as tight as possible. Both cut ends will almost be touching each other. If necessary, use a lubricant to help you with this process.
- Tighten the hose clamps as tight as you can with a screwdriver. Make sure that both sides (both screws) are tightened evenly to hold the hose tight against the adaptor.
This method should immediately eliminate the leaking problem. If you find there’s still a leak, you may not have tightened the hose clamp enough.

Another possible reason is that you were not able to cut out enough of the break in the hose. There is still some way for the water to escape. In this situation, repeat the process by cutting more of the hose off. Make sure there are no breaks left.
Additional Tips for Fixing a Leaky Hose
These are some useful tips to help you solve your leaking hose problem if the methods above do not work. There may be other reasons for your leaking hose or other solutions that are simpler to do.
- Tighten everything: There’s a good possibility that nothing actually needs replacing. Things may just need a good tightening. Give your hose clamps and spigot faucet nut a good tightening. These may just become loose over time.
- Replace the entire hose tube: An old hose could already be too stiff. If so, there could be multiple breaks where the water’s leaking from. If you find the hose tube has multiple leaking spots, it’s time to replace the entire hose. There’s no point in trying to repair this all. It may even get worse if you keep using it.
- Find the best repair solution: Tape is not your best solution. It may work for the first few uses. Any form of tape, even duct tape, will not work for the long haul. It’ll just delay the inevitable of a required repair.
- Know when to call a professional: If you find there’s a larger problem with your faucet, it’s time to call for a professional’s help. If you think there’s a problem with the actual pipe connecting the faucet to the wall, then this needs to be replaced.
- Do repairs in a timely manner: If there’s one thing you shouldn’t do, it’s procrastinate on doing the repair. The bottom line is, you don’t want to ever be wasting water. And if you’re a frequent hose user, you won’t notice just how much water has leaked and been wasted.
Conclusion
You now know how to fix a leaky hose using one of these three methods. Hopefully, you’ve realized how easy it is to fix a leaking hose.
These are some helpful tips that will guarantee you do not waste water. They will also save the additional cost of hiring a professional to fix the problem. It’s easy to do. It’s straightforward. And you don’t have to worry about breaking your back trying to solve this simple problem.